> ## Documentation Index
> Fetch the complete documentation index at: https://velt.dev/docs/llms.txt
> Use this file to discover all available pages before exploring further.
# Lottie Player Setup
Make sure you turn React strict mode off.
### a. Add the `VeltComments` component in the root of your app
Add the `VeltComments` component to enable the Comment feature in your app.
Enable the follow attributes to be `true`:
* `priority`: allows user to P0, P1, or P2 as priority. You can customize this list.
* `autoCategorize`: allows AI to categorize comment as Question, Feedback, Bug, Other. You can customize this list.
* `commentIndex`: shows a small icon showing index of the comment in order of creation.
```jsx theme={null}
```
### b. Add the `VeltCommentTool` component wherever you want your render the comment tool.
Note you can also provide your own button to this component.
```jsx theme={null}
```
### c. Place the `VeltCommentPlayerTimeline` component as a sibling to your video player.
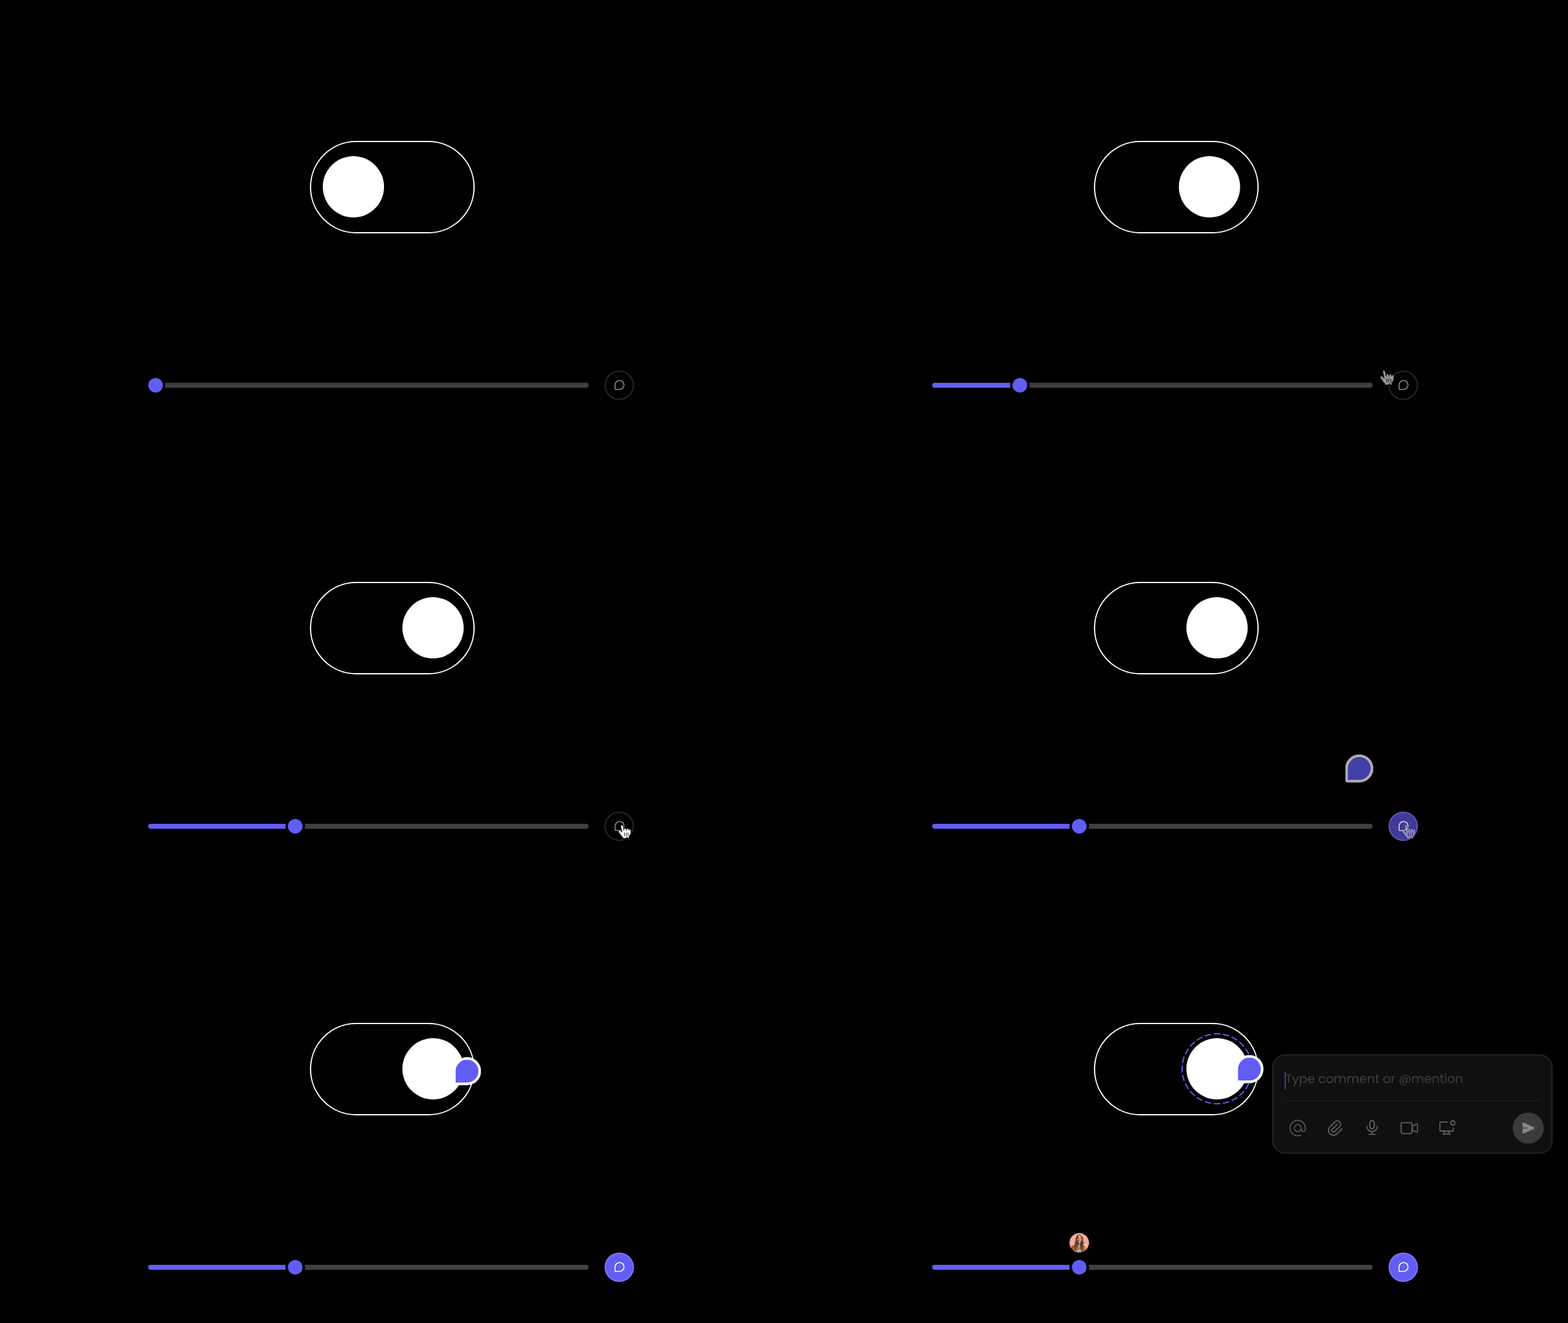
To show comment bubbles on your player seek bar, add the `` component as a sibling to your video player component.
It will auto adjust to the same width as your video player.
```jsx theme={null}
```
Right now we assume you have a maximum of one `` component and one sibling video player component per `documentID`
Ensure that the parent container of `` doesnt have CSS position value as 'static'.
### d. Add the `` component.
(Optional) To embed the sidebar in your existing component, set `embedMode` prop as `true`.
```jsx theme={null}
```
### e. Add the `` component.
This will open or close the Comment Sidebar.
Note you can also provide your own button to this component.
```jsx theme={null}
{/* your custom button (optional) */}
```
You can pass an integer to `totalMediaLength` using props to represent the total number of frames or seconds in the video:
```jsx theme={null}
```
Alternatively, you can set this using API method call. This is useful if you first need to grab the total frames from another method before setting it.
```jsx theme={null}
const commentElement = client.getCommentElement();
commentElement.setTotalMediaLength(120);
```
Add an event handler on where you originally placed `` to handle `onCommentModeChange` events.
Use this whenever the user clicks on the comment tool, to pause your player and set a new `Location` in the Velt SDK.
Setting a `Location` in the Velt SDK ensures that the comments are tied to that particular media frame or timestamp.
```jsx theme={null}
onCommentModeChange(mode)} />
const onCommentModeChange = (mode) => {
// mode will be `true` if the user has activated the comment tool
// If the comment tool is active, pause the player and set the "location".
if (mode) {
// pause player
// See step 8 below for details
setLocation()
}
});
```
You can pass in a key value pair object that represents the current state of your player. If you are using the `VeltCommentPlayerTimeline` component, ensure to set the current rounded frame or second in the special key `currentMediaPosition`.
`currentMediaPosition` is a protected keyword that is used to arrange the comment bubbles on top of the video player timeline in the correct spot
```jsx theme={null}
const setLocation = (client) => {
// set currentMediaPosition property on a Location object to represent the current frame
let location = {
currentMediaPosition : 120
}
//set the Location using the client
client.setLocation(location)
}
```
Call `removeLocation()` when your player starts playing:
```jsx theme={null}
const removeLocation = () => {
//remove the location, so the video player can play without comments appearing in frames
client.removeLocation()
}
```
Add the `onCommentClick` event handler on the `VeltCommentsSidebar` & `VeltCommentPlayerTimeline` components you added earlier.
The event will give you back the `location` object that you had set earlier.
You can use this object to update your player state and also update the SDK's `location` so that we can start rendering the comments associated with that `location`.
### a. Handle it on the `VeltCommentsSidebar`:
```jsx theme={null}
onCommentClick(event)} />
const onCommentClick = (event) => {
if (event) {
// Get the location object from the event.
const { location } = event;
if (location) {
// Get the media position where the comment was added.
const { currentMediaPosition } = location;
if (currentMediaPosition) {
// Pause the player.
// Seek to the given comment media position.
// Set the Velt Location to the clicked comment location.
client.setLocation(location);
}
}
}
}
```
### b. Handle it on the `VeltCommentPlayerTimeline`:
```jsx theme={null}
onTimelineCommentClick(event)} />
const onTimelineCommentClick = (event) => {
if (event) {
// Get the location object from the event.
const { location } = event;
if (location) {
// Get the media position where the comment was added.
const { currentMediaPosition } = location;
if (currentMediaPosition) {
// Pause the player.
// Seek to the given comment media position.
// Set the Velt Location to the clicked comment location.
client.setLocation(location);
}
}
}
}
```
The clicked Comment data will be in the following format:
| property | type | description |
| ----------------- | ------ | --------------------------------------------------------------- |
| `documentId` | string | The document ID where the comment was added |
| `location` | object | The location where the comment was added |
| `targetElementId` | string | The DOM ID of the target element on which the comment was added |
| `context` | Object | Any context data passed when the comment was added |
# Additional Configurations
## Allow comments only on certain elements
Provide a list of element DOM IDs where commenting should be allowed.
Comments will be disabled for all other elements.
```jsx theme={null}
const commentElement = client.getCommentElement();
commentElement.allowedElementIds(['lottiePlayerContainer']);
```
### a. Add the `VeltComments` component in the root of your app
Add the `VeltComments` component to enable the Comment feature in your app.
Enable the follow attributes to be `true`:
* `priority`: allows user to P0, P1, or P2 as priority. You can customize this list.
* `auto-categorize`: allows AI to categorize comment as Question, Feedback, Bug, Other. You can customize this list.
* `comment-index`: shows a small icon showing index of the comment in order of creation.
```jsx theme={null}
```
### b. Add the `velt-comment-tool` component wherever you want your render the comment tool.
Note you can also provide your own button to this component.
```jsx theme={null}
```
### c. Place the `velt-commen-player-timeline` component as a sibling to your video player.
To show comment bubbles on your player seek bar, add the `` component as a sibling to your video player component.
It will auto adjust to the same width as your video player.
```jsx theme={null}
```
Right now we assume you have a maximum of one `` component and one sibling video player component per `documentID`
Ensure that the parent container of `` doesnt have CSS position value as 'static'.
### d. Add the `` component.
(Optional) To embed the sidebar in your existing component, set `embed-mode` prop as `true`.
```jsx theme={null}
```
### e. Add the `` component.
This will open or close the Comment Sidebar.
Note you can also provide your own button to this component.
```jsx theme={null}
```
You can pass an integer to `total-media-length` using props to represent the total number of frames or seconds in the video:
```jsx theme={null}
```
Alternatively, you can set this using API method call. This is useful if you first need to grab the total frames from another method before setting it.
```jsx theme={null}
const commentElement = Velt.getCommentElement();
commentElement.setTotalMediaLength(120);
```
Add an event handler to handle `onCommentModeChange` events.
Use this whenever the user clicks on the comment tool, to pause your player and set a new `Location` in the Velt SDK.
Setting a `Location` in the Velt SDK ensures that the comments are tied to that particular media frame or timestamp.
```jsx theme={null}
const commentElement = Velt.getCommentElement();
let subscription = commentElement.onCommentModeChange().subscribe((mode) => {
// mode will be `true` if the user has activated the comment tool
// If the comment tool is active, pause the player and set the "location".
if (mode) {
// pause player
// See step 8 below for details
setLocation()
}
});
```
To unsubscribe from the subscription:
```jsx theme={null}
subscription?.unsubscribe()
```
You can pass in a key value pair object that represents the current state of your player. If you are using the `velt-comment-player-timeline` component, ensure to set the current rounded frame or second in the special key `current-media-position`.
`current-media-position` is a protected keyword that is used to arrange the comment bubbles on top of the video player timeline in the correct spot
```jsx theme={null}
const setLocation = (client) => {
// set currentMediaPosition property on a Location object to represent the current frame
let location = {
currentMediaPosition : 120
}
//set the Location using the client
Velt.setLocation(location)
}
```
Call `removeLocation()` when your player starts playing:
```jsx theme={null}
const removeLocation = () => {
//remove the location, so the video player can play without comments appearing in frames
Velt.removeLocation()
}
```
Add the `onCommentClick` event handler on the `VeltCommentsSidebar` & `VeltCommentPlayerTimeline` components you added earlier.
The event will give you back the `location` object that you had set earlier.
You can use this object to update your player state and also update the SDK's `location` so that we can start rendering the comments associated with that `location`.
### a. Handle it on the `velt-comments-sidebar`:
```jsx theme={null}
const onCommentClick = (event) => {
if (event) {
// Get the location object from the event.
const { location } = event;
if (location) {
// Get the media position where the comment was added.
const { currentMediaPosition } = location;
if (currentMediaPosition) {
// Pause the player.
// Seek to the given comment media position.
// Set the Velt Location to the clicked comment location.
client.setLocation(location);
}
}
}
}
const commentElement = Velt.getCommentElement();
let subscription = commentElement.onSidebarButtonOnCommentDialogClick().subscribe((event) => onCommentClick(event));
```
To unsubscribe from the subscription:
```jsx theme={null}
subscription?.unsubscribe()
```
### b. Handle it on the ``:
```html theme={null}
```
The clicked Comment data will be in the following format:
| property | type | description |
| ----------------- | ------ | --------------------------------------------------------------- |
| `documentId` | string | The document ID where the comment was added |
| `location` | object | The location where the comment was added |
| `targetElementId` | string | The DOM ID of the target element on which the comment was added |
| `context` | Object | Any context data passed when the comment was added |
# Additional Configurations
## Allow comments only on certain elements
Provide a list of element DOM IDs where commenting should be allowed.
Comments will be disabled for all other elements.
```jsx theme={null}
const commentElement = Velt.getCommentElement();
commentElement.allowedElementIds(['lottiePlayerContainer']);
```