> ## Documentation Index
> Fetch the complete documentation index at: https://velt.dev/docs/llms.txt
> Use this file to discover all available pages before exploring further.
# Quickstart Old Copy
> Quickstart for React. For other frameworks like `vue`, `angular`, `svelte`, `vanilla js` etc. check out the setup guide.
Create a new React app [using any method](https://react.dev/learn/start-a-new-react-project) you prefer.
```bash Terminal theme={null}
cd my-app && npm install @veltdev/react
```
If you're using TypeScript, you can install the types package.
```bash Terminal theme={null}
npm install --save-dev @veltdev/types
```
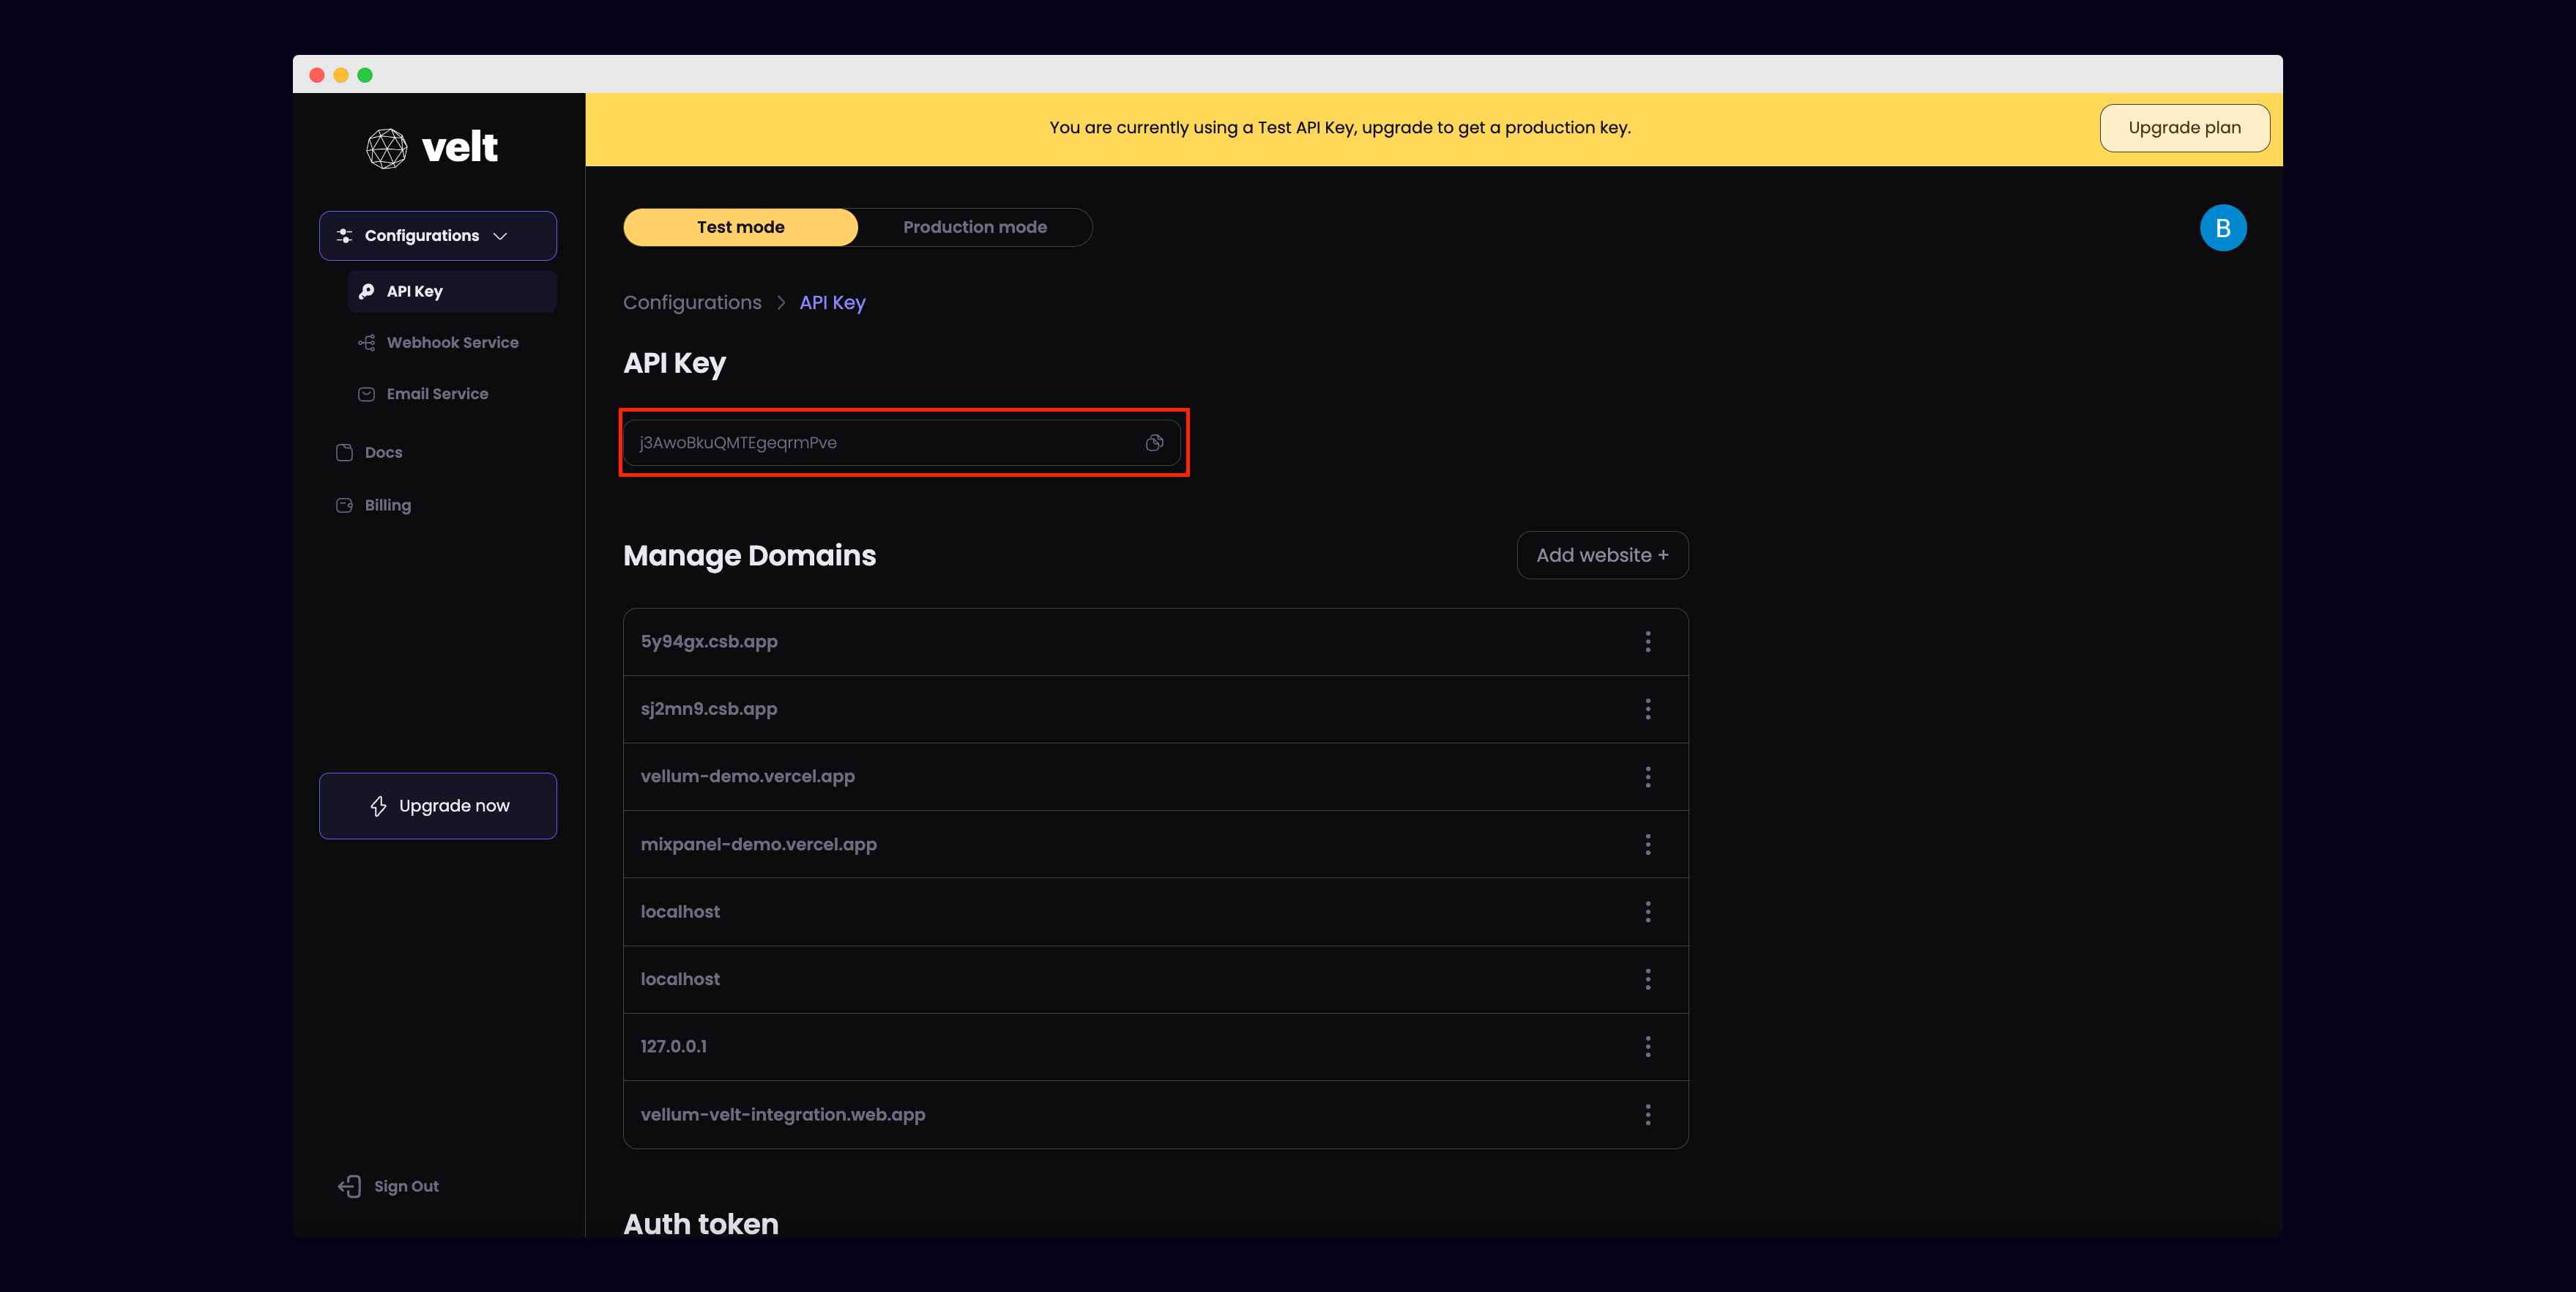
Go to [console.velt.dev](https://console.velt.dev) and grab your Velt API Key
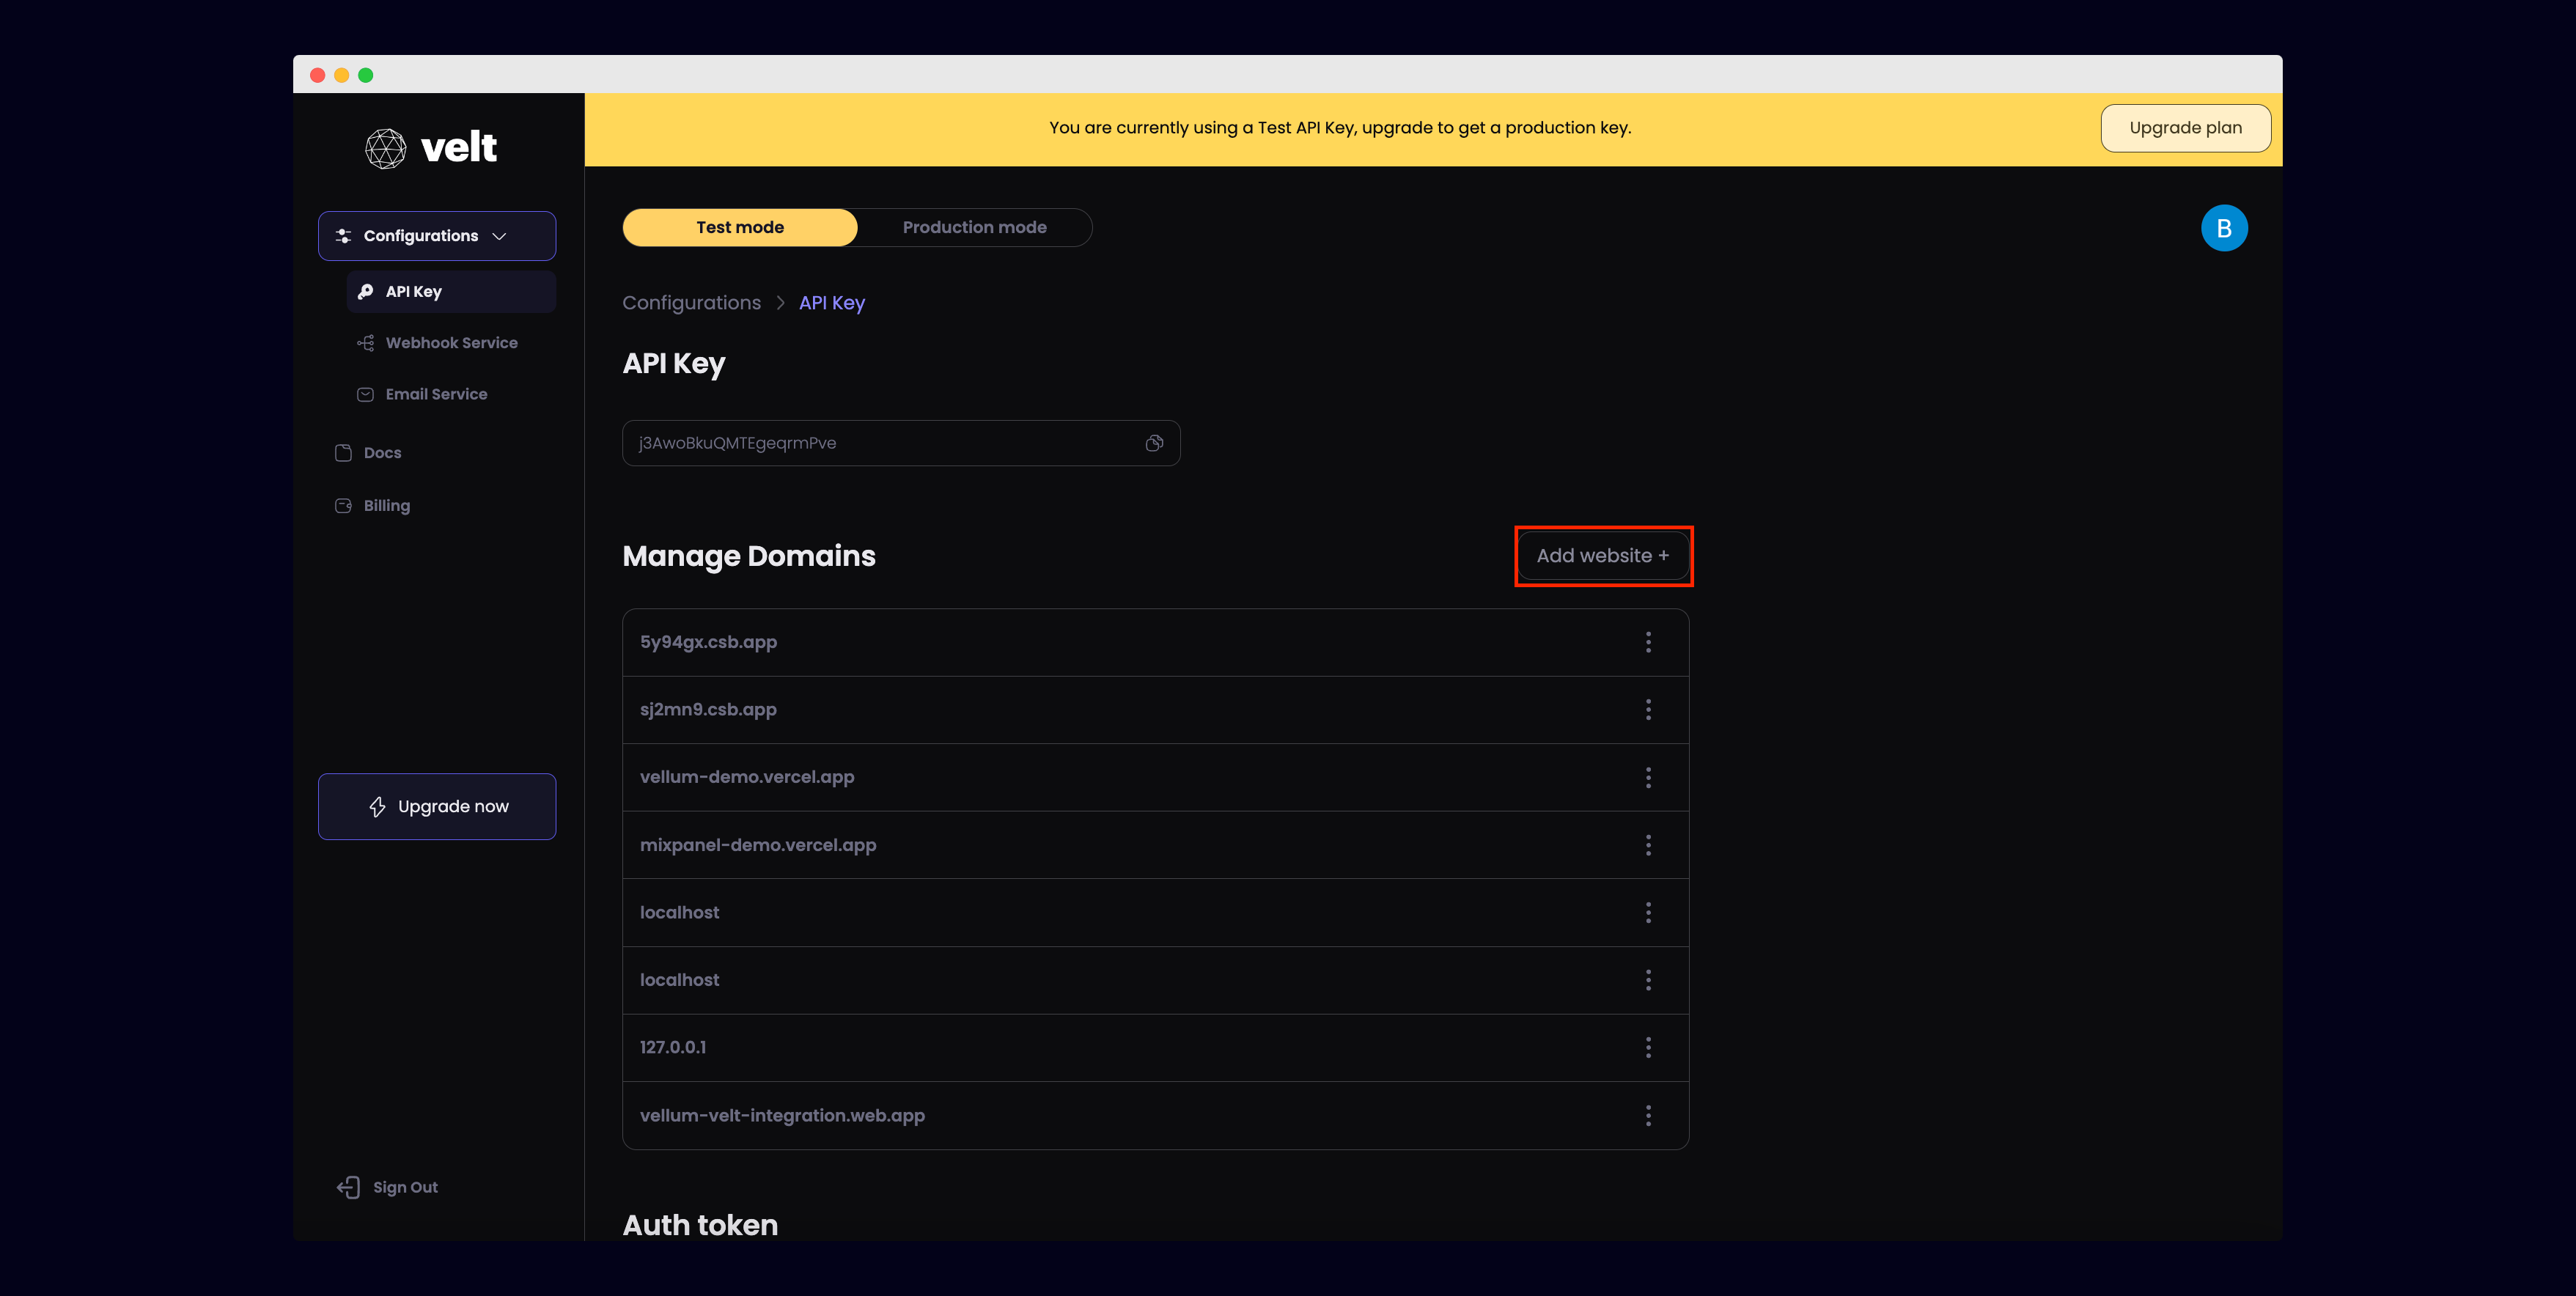
 In the Velt console, add the URL where your app is deployed to the list of Managed Domains.
 In **App.js**, add the `VeltProvider` component to the root of your app with your Velt API Key.
```js App.js theme={null}
```
In **YourAuthComponent.js**, use the `useIdentify()` hook from the Velt SDK to identify your user.
```js YourAuthComponent.js theme={null}
import { useIdentify } from '@veltdev/react';
useIdentify(user)
```
Make sure to call `useIdentify()` within a child component of the Velt Provider. Otherwise, it will not work.
In **YourDocument.js**, use the `useSetDocumentId()` hook from the Velt SDK to set the Document ID.
```js YourDocument.js theme={null}
import { useSetDocumentId } from '@veltdev/react';
useSetDocumentId("my-document-id")
```
In **App.js**, add `VeltComments` to enable the `Comments` functionality.
```js App.js theme={null}
```
In **YourDocument.js**, add the `VeltCommentTool` and `VeltPresence` components to test out the `Comments` and `Presence` functionality.
```js YourDocument.js theme={null}
In **App.js**, add the `VeltProvider` component to the root of your app with your Velt API Key.
```js App.js theme={null}
```
In **YourAuthComponent.js**, use the `useIdentify()` hook from the Velt SDK to identify your user.
```js YourAuthComponent.js theme={null}
import { useIdentify } from '@veltdev/react';
useIdentify(user)
```
Make sure to call `useIdentify()` within a child component of the Velt Provider. Otherwise, it will not work.
In **YourDocument.js**, use the `useSetDocumentId()` hook from the Velt SDK to set the Document ID.
```js YourDocument.js theme={null}
import { useSetDocumentId } from '@veltdev/react';
useSetDocumentId("my-document-id")
```
In **App.js**, add `VeltComments` to enable the `Comments` functionality.
```js App.js theme={null}
```
In **YourDocument.js**, add the `VeltCommentTool` and `VeltPresence` components to test out the `Comments` and `Presence` functionality.
```js YourDocument.js theme={null}
```
### Comments
* Click the `VeltCommentTool` button, then hover over any element on the page to leave a comment.
* Click the `VeltCommentTool` button, then try to draw a box on the page to leave a comment.
* You can also highlight any text to leave a comment.
### Presence
* Open two browser tabs side by side with one in Incognito mode. You should see a bubble showing the other browser's profile avatar pop up.
Check out this guide on [how to set up Velt with your existing app](/get-started/quickstart)
```jsx App.js theme={null}
import { VeltProvider, VeltComments, VeltPresence } from '@veltdev/react';
import YourAuthComponent from './YourAuthComponent';
import YourDocument from './YourDocument';
export default function App() {
return (
);
}
```
```jsx YourAuthComponent.js theme={null}
import { useIdentify} from "@veltdev/react";
import { useState } from "react";
export default function YourAuthComponent() {
const userService = () => {
return {
uid: "user1",
displayName: "User 1",
email: "user1@velt.dev",
photoURL: "https://i.pravatar.cc/301"
};
};
// Fetch user data from user service
let yourAuthenticatedUser = userService();
const { uid, displayName, email, photoURL } = yourAuthenticatedUser;
// Create the Velt user object
let veltUser = {
userId: uid,
name: displayName,
email: email,
photoUrl: photoURL,
};
//identify Velt user
useIdentify(veltUser)
let [user,setUser] = useState(veltUser)
return User: {user?.userId}
;
}
```
```jsx YourDocument.js theme={null}
import { useSetDocumentId, VeltCommentTool, VeltPresence } from '@veltdev/react';
import { useEffect, useState } from 'react';
export default function YourDocument() {
useSetDocumentId('my-document-id')
return (
);
}
```